How to DIY Save-the-Dates on The Knot to Wow Guests
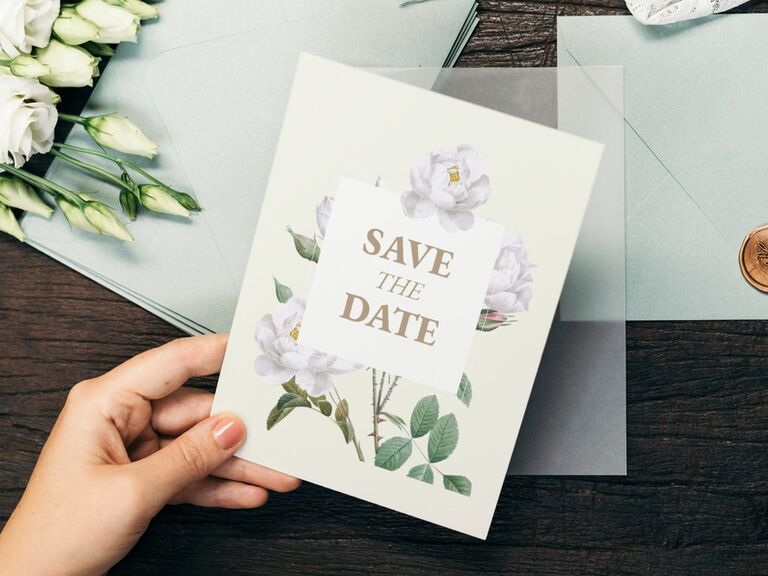
DIY save-the-dates can be a fun and creative way to kick off wedding planning—but doing the heavy lifting yourself can also suck up a lot of time. That's why we're here to help! We've compiled all of our best tips and tricks for making DIY save-the-date cards with The Knot, from a step-by-step guide to advice on what design-related elements to keep in mind. Among all the many DIY wedding considerations, you'll also want to factor in your budget; use The Knot Budget Tool to get an accurate idea of what you should budget for in your area. Once you've determined how much you can afford to put toward your save-the-dates, it's time to let your creativity fly. Here's how to get started.
In this article:
How to Make Save-the-Date Cards
If you're looking to make your own save-the-date cards, there are plenty of options on The Knot. With a price range of $.89 to $2.29 and design styles running the gamut from rustic and floral to vintage and classic, you're bound to find something that fits both your taste and your budget. Plus, you can design your own save-the-dates, choosing from a variety of foil options, seasons and formats. The Knot also offers the option to print both, or either, the recipient and return addresses on the envelopes to make things easy for guests. Ready to get started? Here's how to create your own save-the-date cards with The Knot.
Head to "Invitations" at the top of The Knot website and select "Save the Dates."
On the left-hand side, filter your search according to price range, format, design style, color theme, foil, season and number of photos.
Once that's narrowed down, sort the results by "Featured," "Best Sellers," "Price (high to low)" or "Price (low to high)" using the top right-hand drop-down option.
-
Select the design that appeals to you, which will take you to a customization page.
FEATURED VIDEO FROM THE KNOT Customize the save-the-date to your liking, choosing the format, design color, paper type and quantity.
Click the hot pink button that says "Personalize."
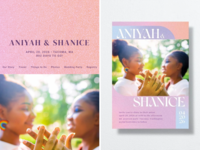
Edit your save-the-date by uploading a photo, adding text, playing around with the font and adding (or forgoing) a filter.
Make sure to also edit the back of the save-the-date, where you can add a QR code and additional text or photos.
-
Select "Review" to make sure everything looks good.
Either select "Add to cart & check out" or move on to the next step and select "Choose envelopes."
-
Choose your envelope design color, printing options and quantity.
Click "Personalize," which will allow you to edit your envelope similarly to how you edited your save-the-date, adding text, choosing your font and selecting artwork.
-
Select "Review," which will allow you to look things over and proceed to checkout or opt to design a liner.
If you opt for the latter, select your design color and quantity before proceeding to the personalization page that allows you to add text.
Review and check out.
Tips for Designing Your Own Save-the-Dates
With so many save-the-date ideas out there, selecting what direction you want to go in can feel a little overwhelming. After all, how can you choose? Here are a few things to keep in mind as you design your own save-the-dates on The Knot that will help make the process a little easier.
1. Plan Ahead
If you're wondering when to send save-the-dates, they should usually go out six to eight months ahead of your wedding. That means you'll want to start designing your save-the-dates early on, taking into account the time it will take to decide on your design and fiddle around with it, plus printing and shipping time (save-the-dates from The Knot usually ship within four business days) and then mailing them out to guests.
2. Choose a Premade Design
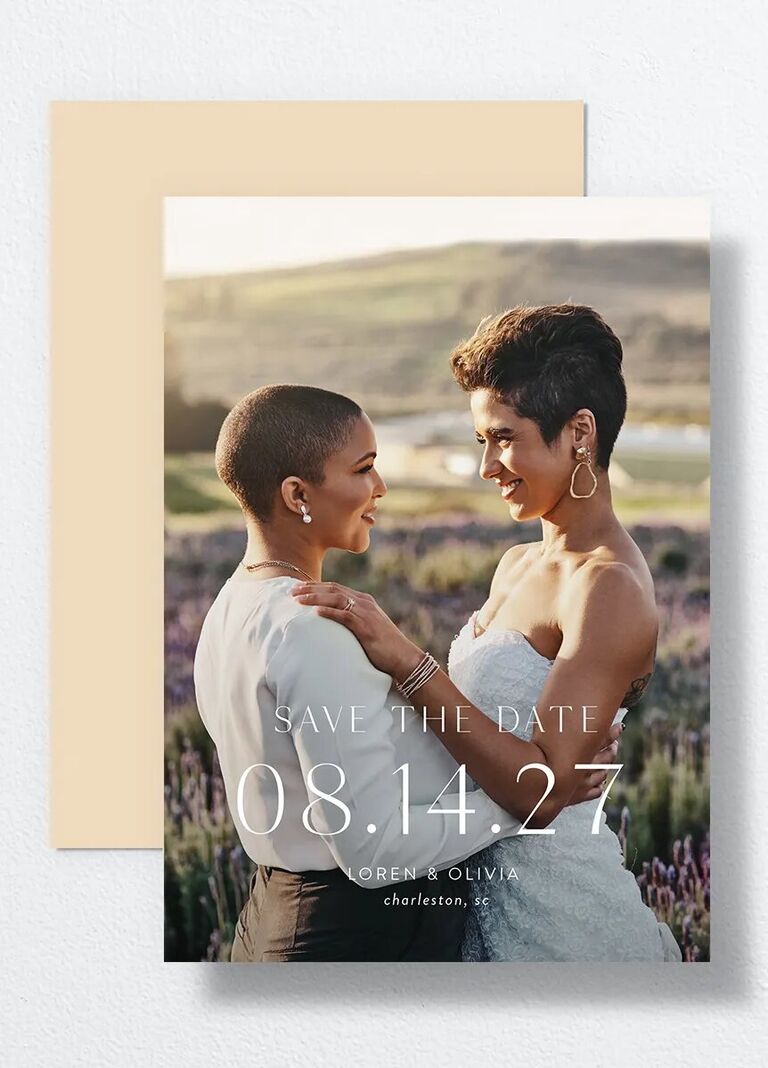
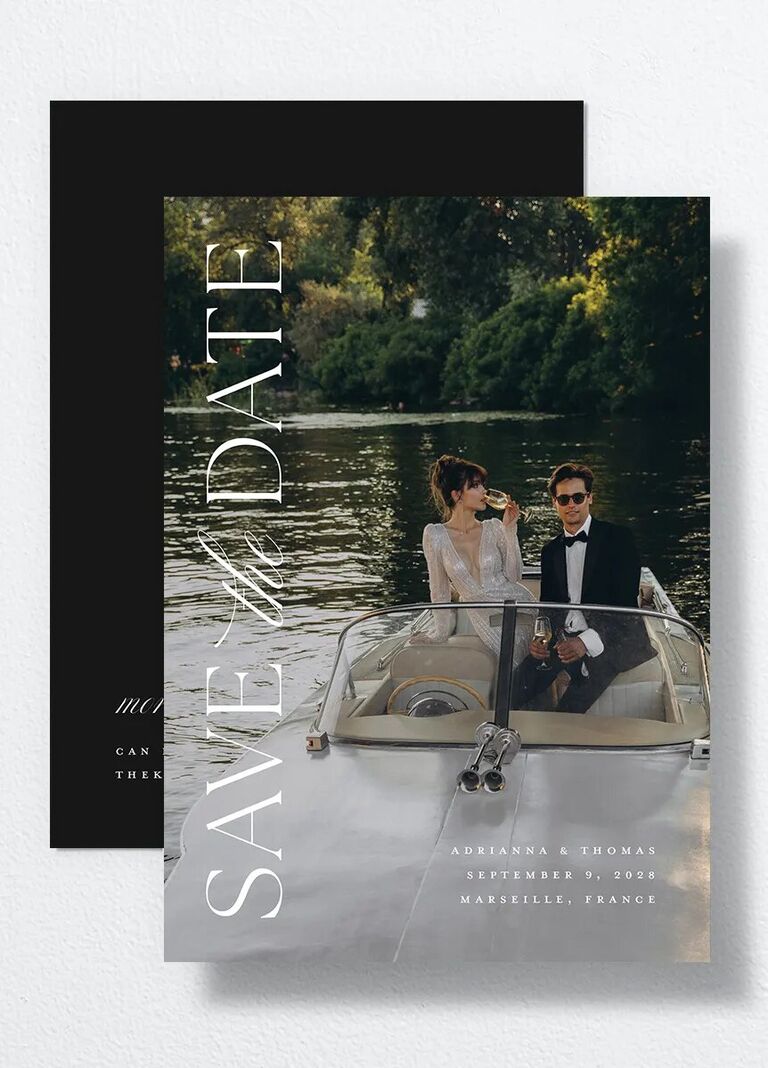
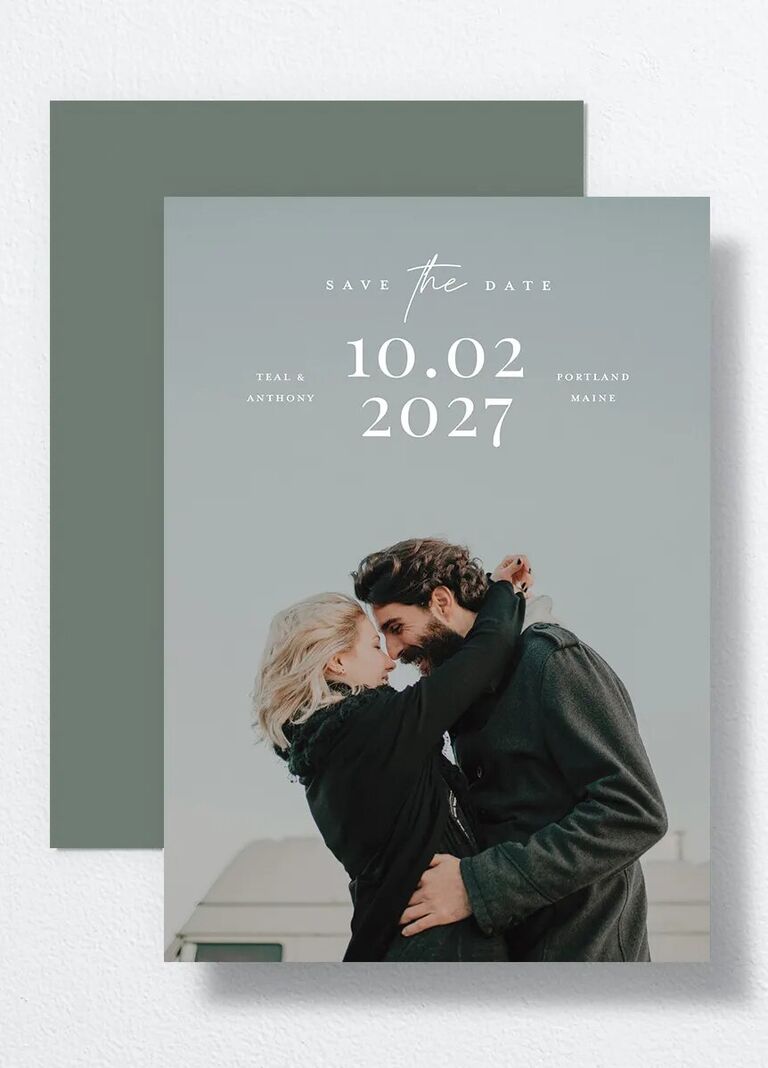
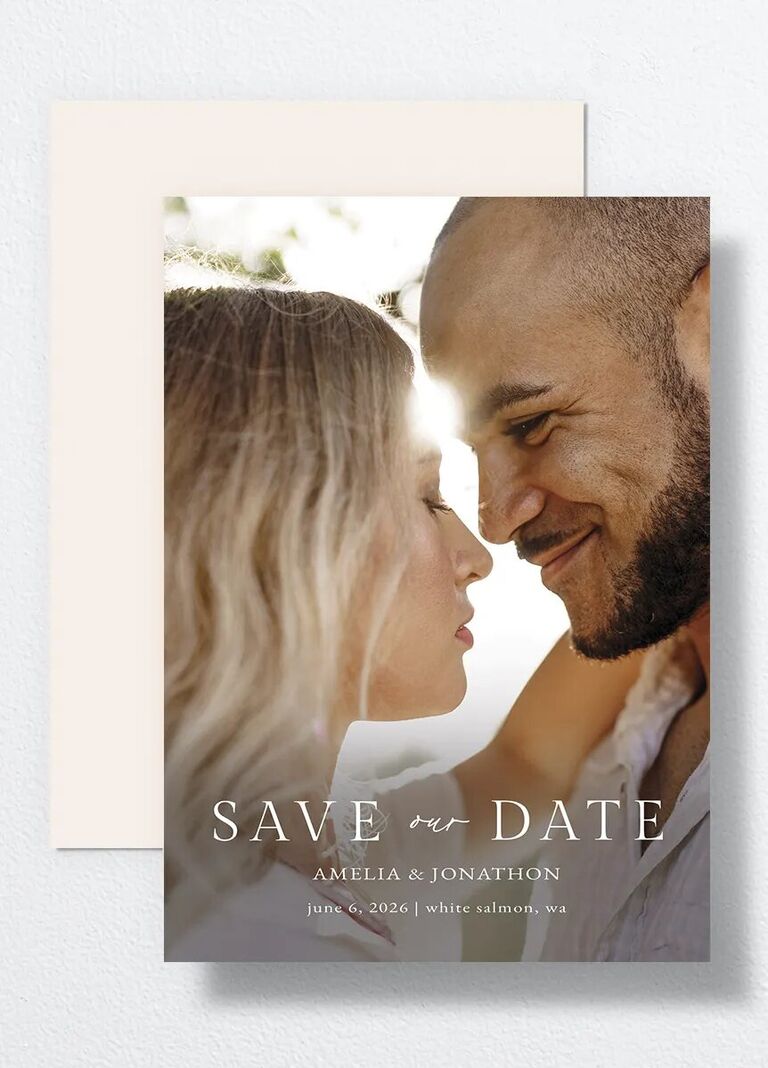
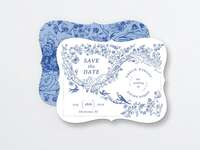
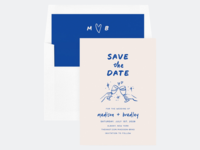
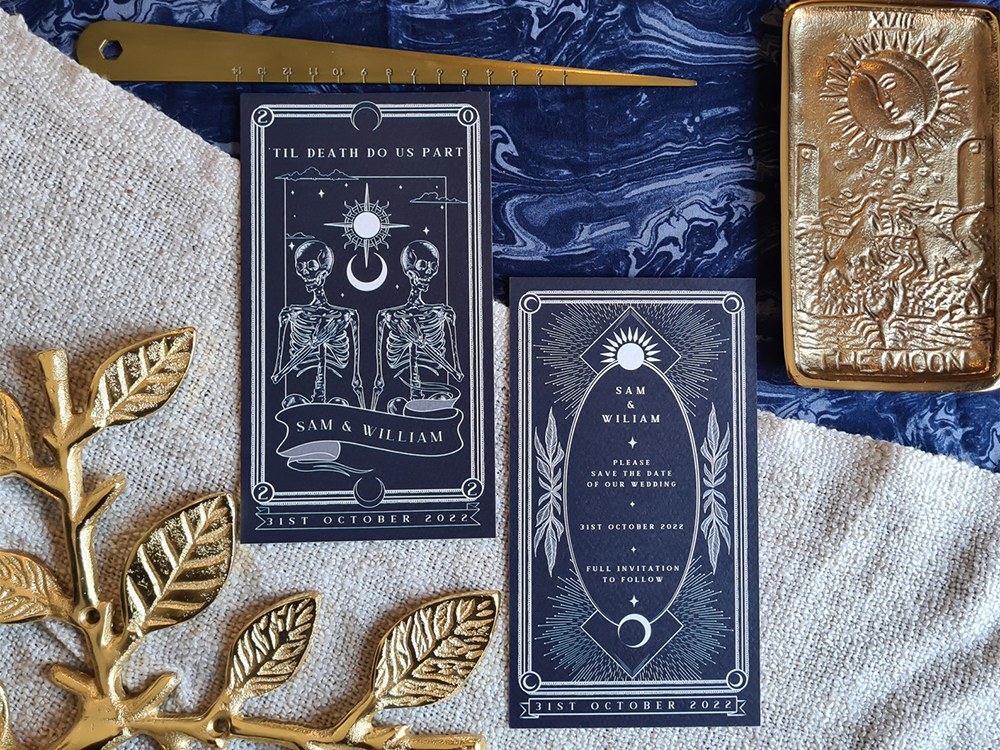
The Knot has hundreds of pre-made designs, which does half of the legwork for you. All you have to do is decide which one you like best. To make that process a little easier, think about what kind of design would best match your wedding style—a floral design for garden nuptials or an art-deco pattern for a 1920s-inspired wedding, perhaps. Save-the-dates are the first element that will set the tone for your wedding.
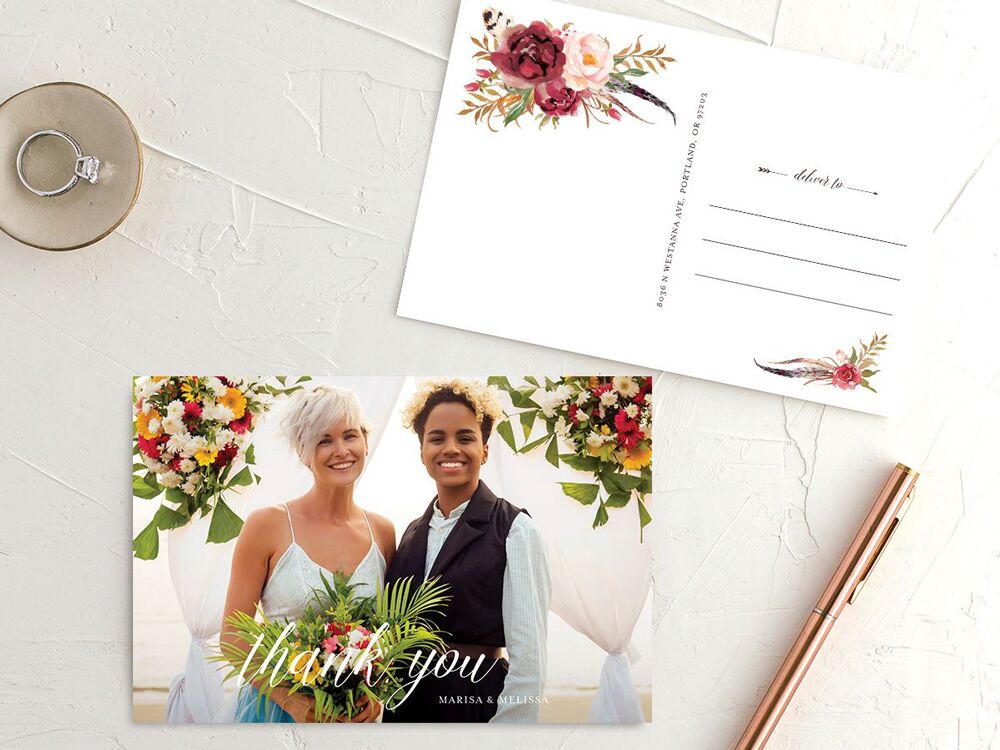
Also, consider whether you want it to feature an engagement photo or if you'd rather go with a custom illustration. You'll then have the option to leave your save-the-date as is or customize it as much as you want.
3. Pick a Format
You can opt for classic do-it-yourself save-the-date cards, available in standard and petite sizes, or do-it-yourself save-the-date magnets or postcards—we love the latter for a destination wedding.
4. Create Your Own Design
If you have a specific save-the-date vision in mind or are blessed with a creativity streak, opt for The Knot Upload Your Own Design feature instead of choosing a premade design. All you have to do is upload your own hi-res file onto the vertical template and center it to your liking. You'll be able to choose six different paper options, from pearlescent to signature smooth.
5. Include the Right Details
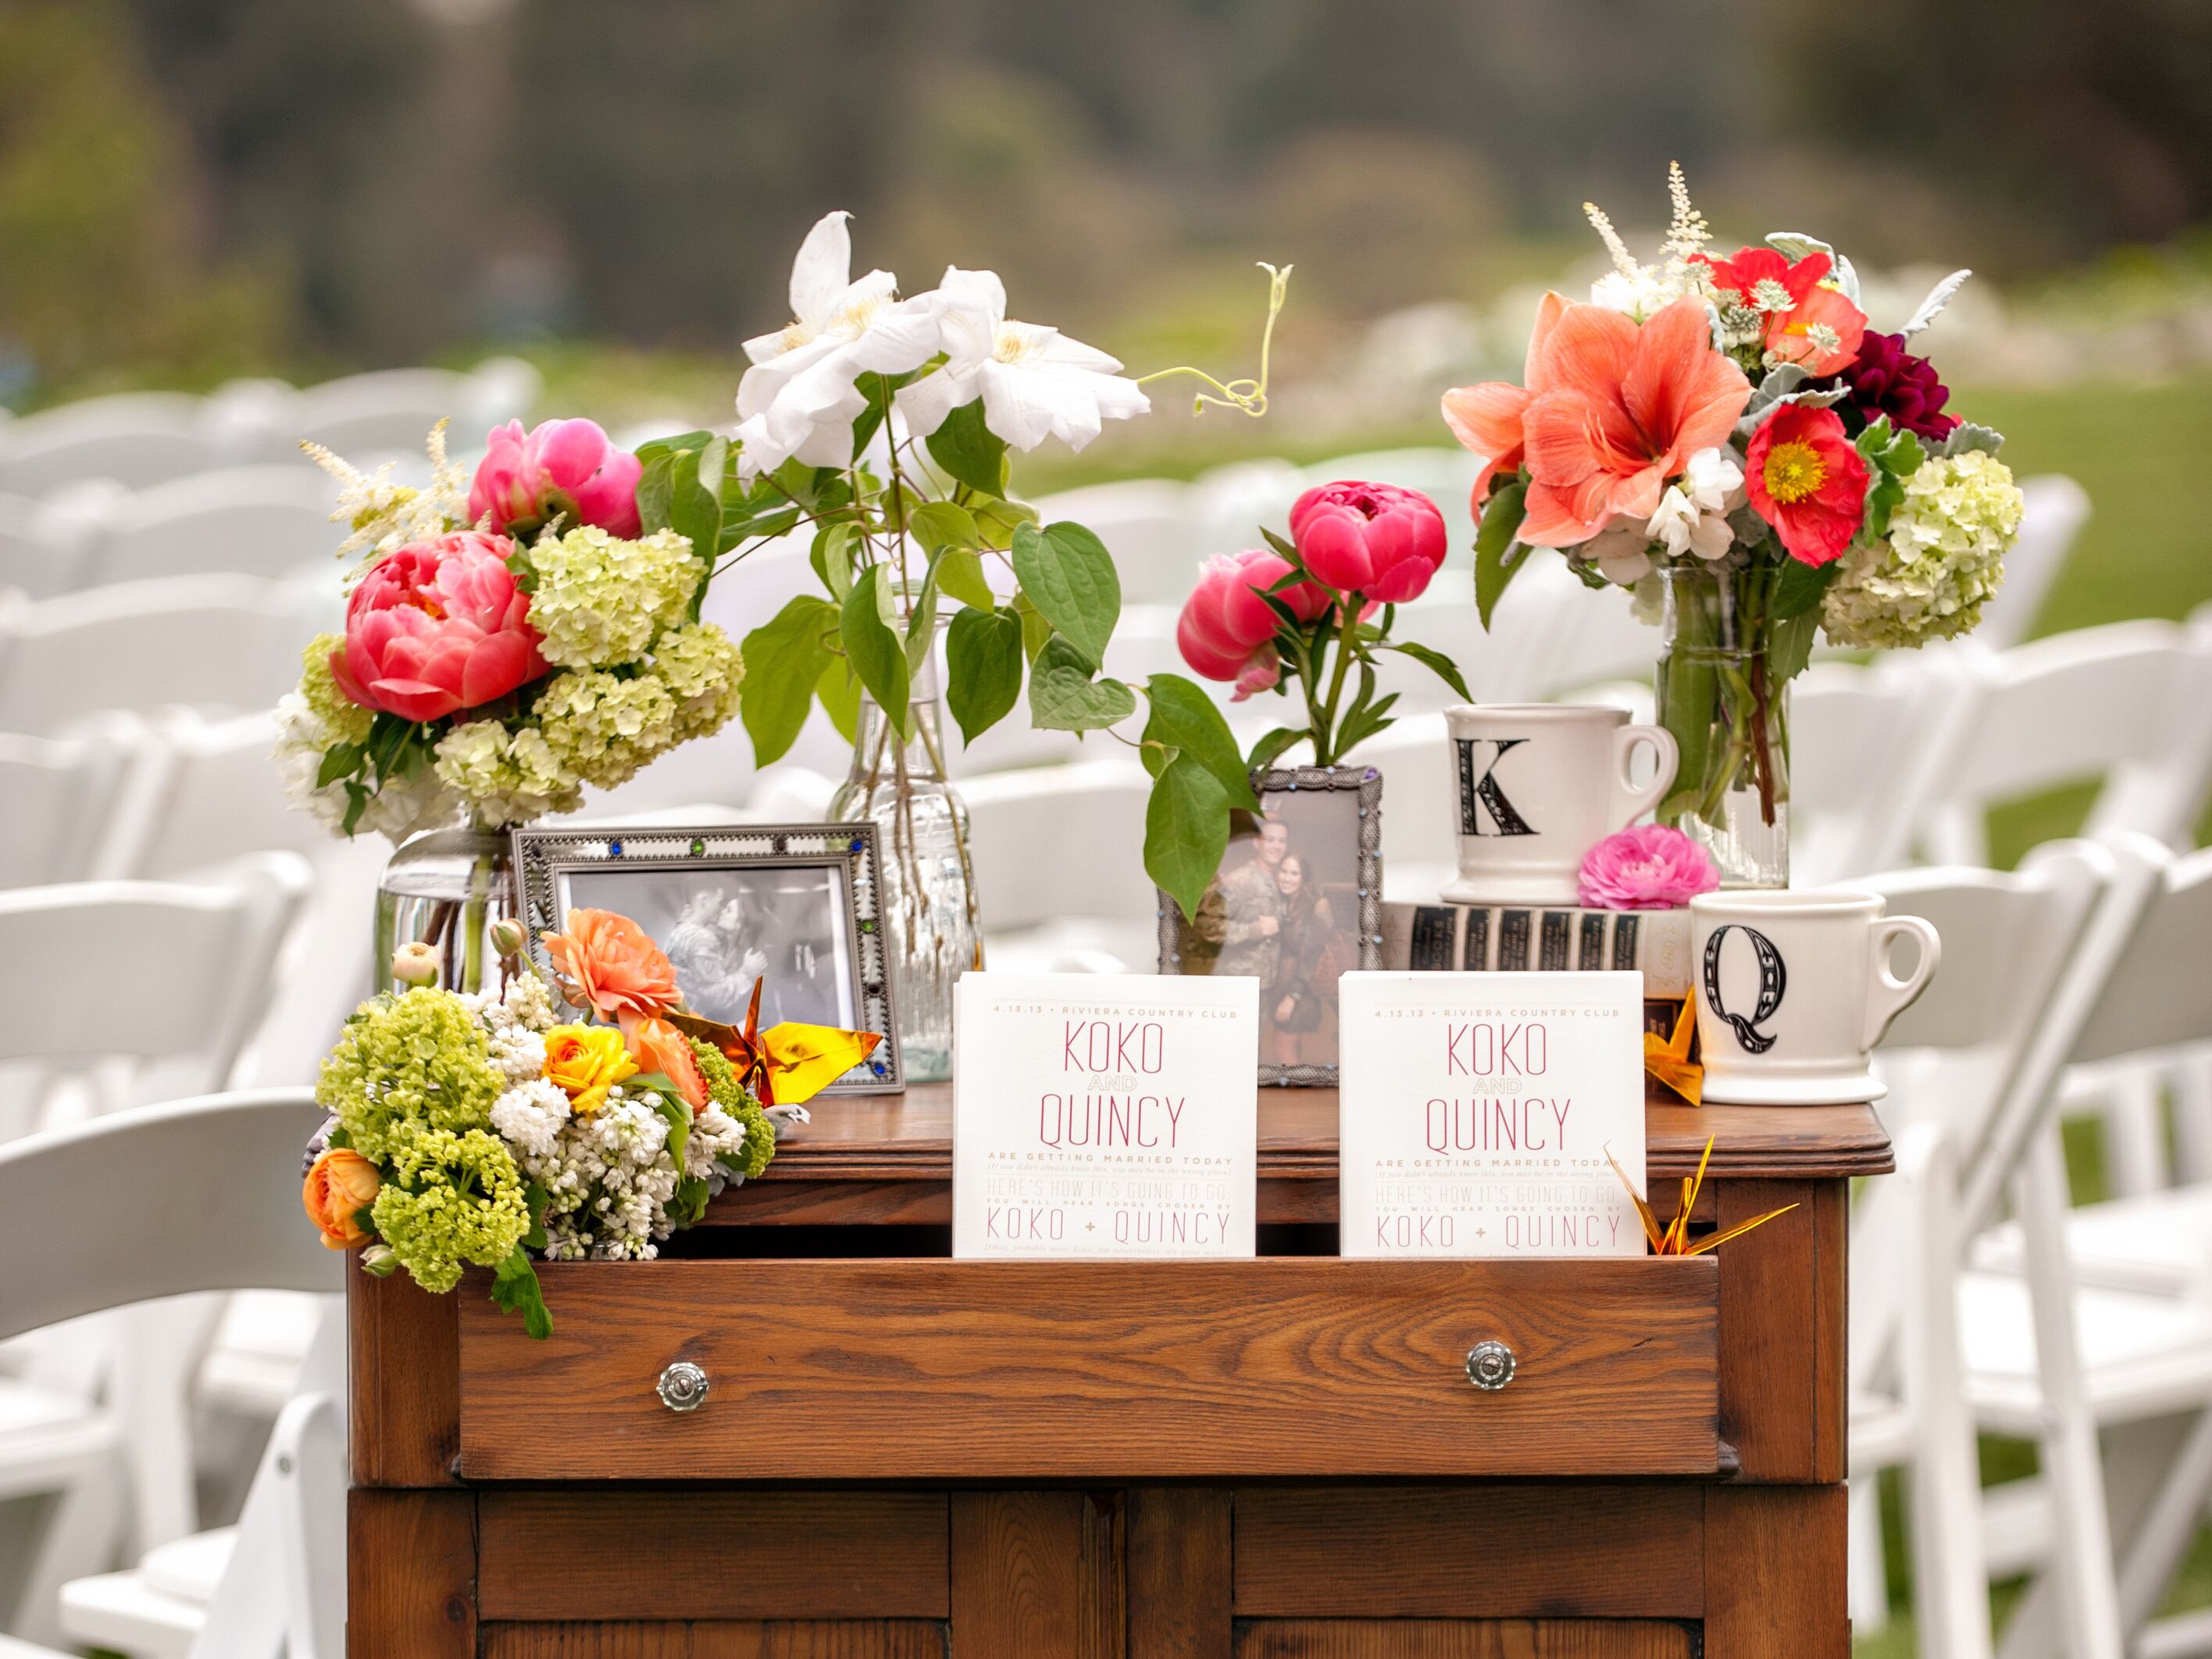
When you create your own save-the-date on The Knot, you'll be able to add your own text and select the font and type. But don't get too carried away—keep the details simple and high-level. You'll want to include your names, wedding date, guest information and website info. But don't include RSVPs, registry info, the schedule of events or overly specific details. Here's exactly what to put on save-the-dates and some save-the-date wording examples.
6. Order a Sample
Before fully committing to your DIY save-the-date cards, order a sample to see what it looks like firsthand. Better yet, order a few samples so you can compare what you like best or differences in elements such as the paper type. This will help you feel more confident when making your final purchase. But you can always save yourself some time and opt for digital save-the-dates instead.
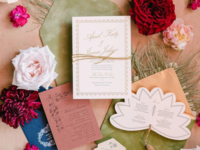
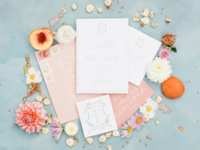
Once you check off save-the-dates on your wedding checklist, it's time to shop for inexpensive wedding invitations!

