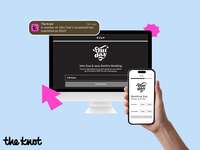
How to Share Your Wedding Website With Your Loved Ones
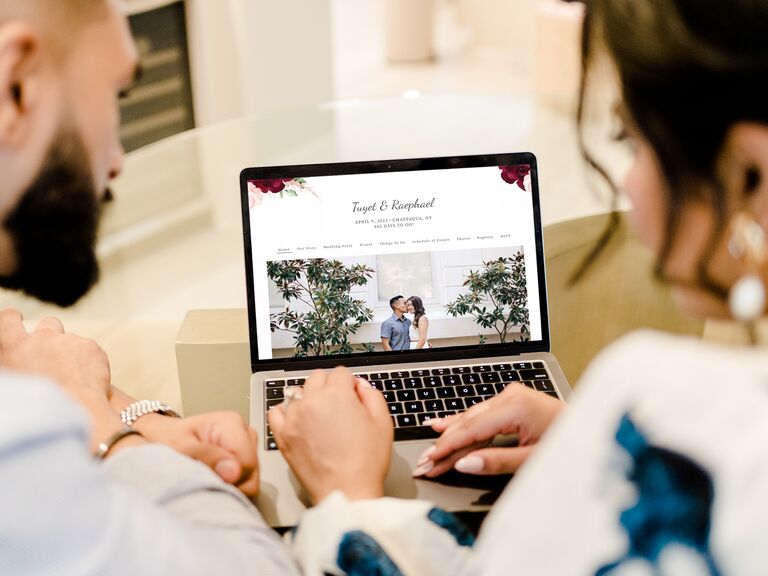
Now that you're engaged, you're probably eager to dive headfirst into your wedding planning to-do list. But before you start making decisions about your seating chart, you need to learn how to share your wedding website. Once you make a custom wedding website on The Knot, announcing that it's ready is super easy. Use our simple guide to get your wedding website out to the masses and read tips on when to share it.
In this article: When to Share Your Website | How to Share Your Website | Adding Your Website to Invitations | Sharing Your Website on Social Media | How to Get Guests to Use Your Website
When to Share Your Wedding Website
Once you've locked in a wedding date, time and location, create a wedding website. Include the link to your site on your save-the-dates and send them in the mail six to eight months before your wedding date. Another reason sending out your wedding website details ASAP is a good idea: Your site works with our guest list tool, which allows you to collect guest addresses, invite loved ones to different prewedding events and gather RSVPs all in one place. Plus, you can email guests any important updates after collecting their info with our guest list helper.
Also, don't worry about not having all the ins and outs of your wedding finalized. Along the way, you'll update your wedding website as more details come together, like your venue, wedding party, wedding weekend events and dress code. And remember, if you want to purchase a custom domain wedding website, avoid confusion by making sure your personalized URL is finalized before you send it to friends and family.
How to Share Your Wedding Website
Should you put the wedding website on save-the-dates? Yes, we covered that above. But if you're wondering how else to share a wedding website and the etiquette attached to the task, you need to know some guidelines. First, avoid adding your wedding website to your formal invitations. Instead, use an insert in your invitation suite to relay your website info. You can, however, put your wedding website on your prewedding event invitations since those are typically more casual. Below are the most popular ways to share your wedding website information:
- QR code
- Save-the-date
- Wedding/bridal shower invitation
- Engagement party invitation
- Enclosure card
How to Include Your Wedding Website on a Wedding Invitation
You don't have to write the website's URL on your stationery. Instead, include a QR code with your wedding invitation, which you can do using The Knot Invitations. For inspiration, look at the following wedding invitation with wedding website wording examples for providing both QR codes and URLs. Note: Writing the full URL is a good option for guests that aren't tech savvy.
- For more information, please visit our website: [insert website URL and password].
- Accommodations and more information can be found at [insert website URL].
- Use your smart phone to scan the QR code, which navigates to our wedding website.
- Visit our website, [insert website URL], or scan the QR code for more details about weekend activities, transportation and attire.
While you figure out how and where to share your wedding website, you should ensure you know exactly what to include on a wedding website (and not on your invitations) so you don't add information to the wrong place. Don't put your wedding website directly onto your invitations—that's what the enclosure card is for. (If you're wondering what you can put on the back of a wedding invitation, try something like a custom monogram.) You should also know that, if you use The Knot for your stationery and website, you'll have invitations with matching wedding website designs—yes, we love making things easy.
Should You Share Your Wedding Website on Social Media?
Even though posting your wedding website on social media seems like the easiest way to debut it, it could cause more harm than good. People who weren't invited could feel left out and social media followers could offer some unsolicited commentary. But if you want to know the right way to share The Knot wedding website on Facebook, for example, make a private group page or group chat to tell select people about your wedding website. Also, you should create a wedding website with a password. This adds security to your personal details and stops everyone on social media (and the internet) from seeing your website.
Here are a few ways to announce your wedding website on social media:
- Welcome to our wedding group page! Click on the link below to visit our wedding website. More details coming soon.
- Hi everybody! To make things easy, I've included you all in this group chat. Here's our wedding website: [insert URL]. You'll find all of the information on our engagement party, wedding shower and wedding day.
How to Get Guests to Use Your Wedding Website
Now that you understand how to tell guests about your wedding website, you should also know how to make sure they'll use it. First, we recommend sending the website link and this guide to how to find a couple's wedding website, which is specifically for The Knot users, just in case the link gets lost in the shuffle.
The best way to incentivize your guests to visit every page of your website (absorbing your wedding details in the process) is by making it interactive. Choose an eye-catching theme as you look through wedding website design ideas, then engage your guests with a personalized note. (Here are some wedding website welcome message examples.) Always infuse your personality throughout the page and include a section dedicated to your love story. For example, make a map of your first date, kiss and proposal spot. Guests will also use your site frequently if you set up a photo-sharing wall or add a scavenger hunt to your page of local hotspots for them to visit during your wedding weekend. Finally, ensure your site covers all of the essential wedding website FAQs. Trust us, building a site that's helpful and interactive guarantees guests will stop by your page multiple times before you say "I do."


